Here's how I made the cape.
You will need 3 yards of red cotton fabric. From one end, cut 4 hood shaped pieces and two ties that are about 16 inches by 4 inches. When cutting, plan the fabric to have as much width left for the cape as possible. I used a sweater hood to decide how the hood should be shaped and how big it ought to be.
Layer the hood pieces in sets of two. Stitch around the back and top sides (the curved edge) of each set.
To make the tie, turn and press 1/4 inch on the end and along the edges. The fold in half and press.
Stitch along the edges and across the end.
Attach the ties and layer the two hoods with right sides together. Stitch along the front edge (the one that frames the face). Turn and press.
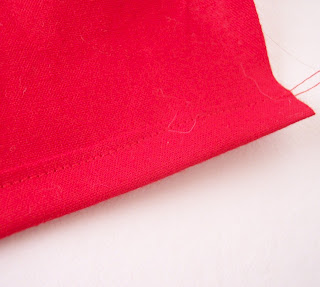
Straighten the edge of the remaining fabric and finish the cut edges by pressing under 1/4 inch and then turning 1/2 inch and stitching.
Gather one of the selvage edges to the size of the bottom open edge of the hood. Press the bottom edge of one side of the hood under. Sew the gathered edge of the cape to the unpressed edge of the hood. Topstitch along the bottom edge of the hood to sew down the pressed edge and finish.
Viola! Red Riding Hood cape. A fun costume for the right occasion.


I love group costumes! The wolf definitely needs a little red to join him. :) Love this cape, so cute!
ReplyDeleteTFS!! Great tutorial too!! I am your first follower :-D Stopping by from Sugar & Dots linky party. Here is what I shared this week: http://craftybrooklynarmywife.blogspot.ca/2012/10/happy-halloween-evil-queen-costume.html
ReplyDeleteHappy Halloween!